
Step-by-step setup · Updated November 2, 2026
Set up GreetConsent on your website
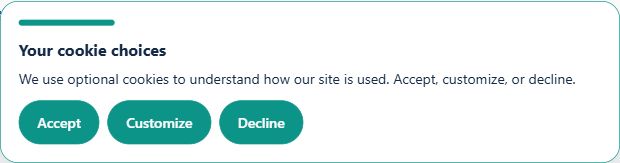
Give visitors a compact Accept, Customize and Decline banner, match its palette to your site, and manage the optional analytics integrations you choose. GreetConsent is free; you need permission to change your website’s code.
Explore GreetConsent features and screenshots or create a free GreetMode account.
1. Create your account and select your website
Create a free account or sign in. Open Your sites, add or select your website in Website settings, then choose GreetConsent under Manage products. Open the Settings view. Keep the selected website the same throughout setup.
2. Choose colors and review the preview
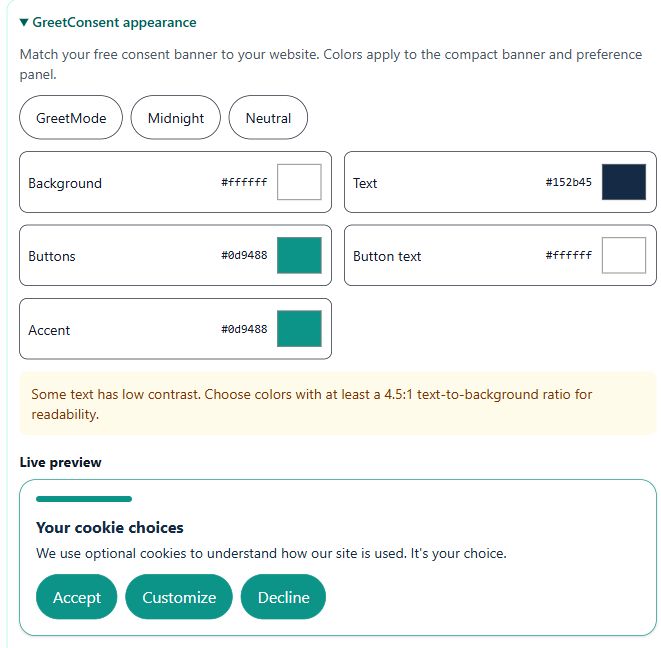
Open GreetConsent appearance. Start with a preset or adjust the background, text, buttons, button text and accent colors. The live preview updates as you change the palette. Try Customize in the preview to inspect the preference screen, then choose Back to return.
Check contrast feedback before saving. The screenshot below includes a warning for a color combination that needs attention; choose a higher-contrast combination for readable text. Preview buttons demonstrate the interface without saving a visitor’s consent choice.
3. Add only the analytics tools you want to manage
If you use GA4, enter its public measurement ID beginning with G-. If you use Clarity, enter its project ID. Leave an integration blank to disable it. These fields are for public tracking IDs, not passwords or API secrets. Select Save settings.
GreetConsent can load these configured integrations after the visitor allows them. Remove other copies of the same GA4 and Clarity tags, including copies in a theme, plugin or tag manager. A separate copy can still run before the visitor chooses; GreetConsent does not automatically intercept every script on your website.
Adding a GA4 ID controls tag loading. It does not grant access to your Analytics reports. The separate GreetMetrics reporting tool needs an authorized Google connection.
4. Install your website-specific code
In the same GreetConsent workspace, copy the code under Install on this site. Add it once to your shared website layout or supported custom-code area, then publish. Use your account’s complete code; the example below contains a placeholder website ID.
<script src="https://www.greetmode.com/greetconsent.js"
  data-site="your-site-id" defer></script>
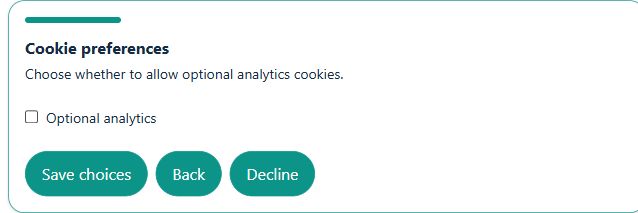
Provide a Cookie settings control so visitors can reopen preferences. Its click action calls GreetConsent.open(). Here is an HTML example for sites that allow inline click handlers:
<button type="button" onclick="window.GreetConsent?.open()">
  Cookie settings
</button>
If your builder or Content-Security-Policy does not allow inline handlers, connect the button through your site’s existing JavaScript instead. Ask your website manager to confirm the placement rather than disabling the policy.
5. Test the published site as a visitor
- Open the published site in a fresh private browser window. Confirm that Accept, Customize and Decline fit on desktop and phone.
- Use Decline. Ask your website manager to verify that the configured optional analytics scripts remain unloaded.
- Reopen Cookie settings, choose Customize and save a specific choice. Verify that only the selected integrations load.
- Reopen preferences and withdraw consent. The widget reloads the page to stop previously loaded analytics code.
- Reload again to confirm the choice is remembered for that website and Cookie settings can still reopen it.
Already made a choice? The banner may stay closed on later visits. Use Cookie settings or a fresh private window for another test. If scripts load too early, look for duplicate tags before assuming the consent control failed.
Ready to set up your banner?
Open Your sites to configure GreetConsent, or return to the GreetConsent product page. For installation help, include your website platform and the step that did not work when you contact us.