
Step-by-step setup · Updated November 2, 2026
Set up GreetProof and verify your form submissions
Follow browser and server installation, test token rejection, and understand verification results using real screenshots of our disposable installation test form.
Explore GreetProof features and screenshots or create a free GreetMode account.
1. Choose the website and protection settings
Create an account or sign in, open Your sites, choose your website, and select GreetProof under Manage products when your account has access. Free account creation does not activate this paid product; check current availability and access in Billing.
In Settings, enter the exact HTTPS origin visitors see after redirects, without a page path. For example, https://example.com and https://www.example.com are different origins. Choose action names such as contact and use the same name in the browser and server integration.
Choose Protect and save when access is available. Off and Monitor do not enforce visitor challenges. Copy the server secret shown after the first save into private server configuration, outside the public web root. Never place it in HTML, browser JavaScript or source control. Rotating a lost secret requires updating every handler that uses it.
2. Install browser verification and server enforcement
Open Installation in the GreetProof workspace. Select the action to install and copy its browser code. Add the data-greetproof-site and data-greetproof-action attributes to your existing form, keep its inputs, point the form at your handler, and load greetproof.js once.
The browser supplies a greetproof_token after verification. Your server must send that token and the matching action to GreetMode’s verify endpoint using its private secret, before sending email or storing the submission. Require a successful response in Protect mode. Missing, invalid, reused tokens and verification-service failures must stop processing; offer a retry or another contact method.
The dashboard provides website-specific browser and PHP examples. PHP needs cURL and outbound HTTPS access. Keep your existing field validation and request limits. Custom JavaScript forms use GreetProof.execute and pass its returned token to the same server verification flow.
Developer installation examples and troubleshooting →If your website builder or hosted form service does not let you change the server handler, confirm that it supports this verification step first. Adding a script alone does not protect submissions.
3. Test the real form before launch
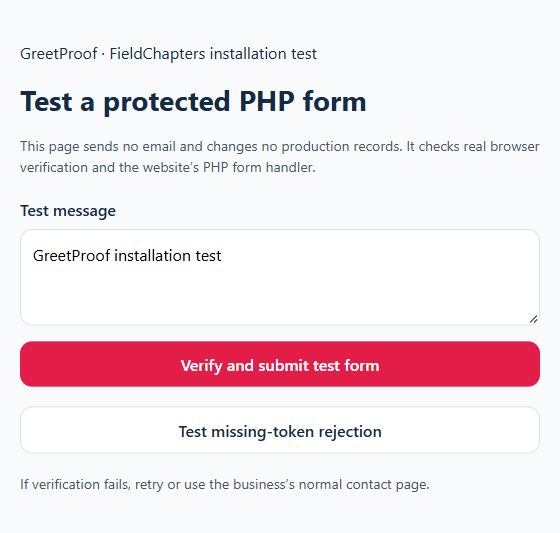
- Submit your form on desktop and phone, completing verification if prompted. Confirm that the handler verifies the token before processing the message.
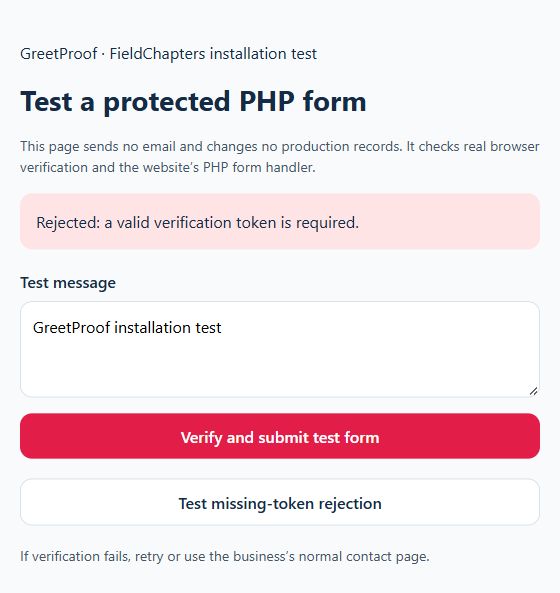
- Send a request with no token. Confirm the handler rejects it and sends no email or saved lead.
- Resend the same token after a successful submission. Confirm that it is rejected rather than processed twice.
- Check retry instructions and an alternative contact method when verification is unavailable. Test each protected form and action separately.
4. Understand the results without overstating them
Open Results and refresh. Accepted means the server accepted a verification token. Challenge completed means the browser challenge completed; it does not establish that your handler checked it. Rejected means a token was rejected and does not, by itself, identify a bot.
Verification results show the latest events, up to 50 within the 14-day retention window. One submission can produce several events. These counts are a recent sample, not total visitors or a count of confirmed bots. Filter by action and result to investigate your tests.
Optional traffic reports describe suspicious patterns, not proven identities. They are separate from enforced form verification. Keep protection active only after both integration parts and all rejection tests pass.
Explore GreetProof features and screenshots →